How to Repair Roof Shingles the Right Way (in Wisconsin)
When roof shingles are damaged, a domino effect of issues unfolds.
Leaks seep in, structural integrity weakens, and insulation falters, compromising both comfort and safety. Patching shingles quickly isn’t merely a solution; it’s a vital shield against a host of potential problems.
But, knowing how to repair roof shingles the right way is essential for lasting protection and peace of mind.
Before we get stuck in, though, are you sure that roofing shingle repair is definitely the right option?
Consider a replacement, instead!
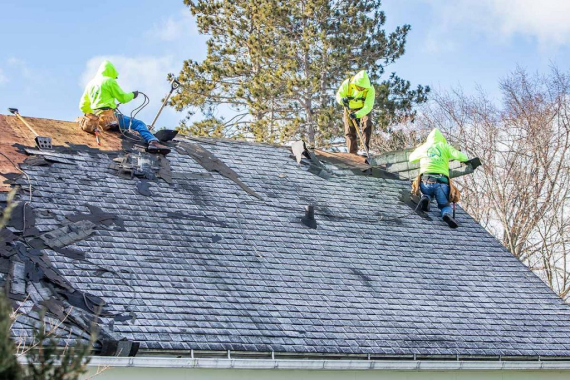
In our experience, once your roof shingles start to show signs of wear and tear, it’s usually time to consider replacing the entire thing.
Unless the damage is very much isolated and is due to something specific, once a shingle batch needs repairing, the rest of the roof is going to go, too.
And if you’re thinking, “well, that’s OK… I can just repair each batch of shingles as they need it”, this eventually becomes tiresome and not cost-effective.
[cta_c2 text=’So, if you’re in Wisconsin, why not CONTACT US and have our expert team quote you a roof replacement!’]
If you’re adamant about fixing roof shingles, check out our full guide below…
Before you start — assessing the damage & what you’ll need
Begin by inspecting for:
- Missing or damaged shingles
- Visible leaks
- Signs of wear
Particularly, focus on areas exposed to severe weather, as they tend to be more vulnerable. Check for curled or loose shingles and examine the overall integrity of your roof.
By doing this, you’ll know the full extent of what needs repairing and whether you can handle the job yourself or if you need a professional to get the job done for you.
Tools you’ll need
Having the right tools at your disposal is essential for a successful and efficient repair job. Here’s a list of must-have tools for common roof shingle repairs:
- Safety gear: Start with essential safety items like a sturdy ladder, safety harness, gloves, goggles, and non-slip footwear to ensure you’re secure while working at heights.
- Roofing nails: High-quality roofing nails are essential, but remember to choose the appropriate size and type for your specific shingle material.
- Hammer: Choose one with a claw for removing damaged shingles and securing new ones.
- Utility knife: A must-have for cutting shingles to the correct size and shape for precise repairs.
- Roofing cement: For bonding shingles together and creating a watertight seal, especially at the edges and corners.
- Chalk line: This is handy for ensuring straight lines and proper alignment when installing new shingles.
- Roofing spade: Essential for effortlessly lifting and removing roof shingles and nails from any type of roof surface.
- Caulking gun: Applying roofing sealant or caulk to secure shingles and prevent leaks.
- Heat gun: For softening curled shingles, making them pliable and easier to reattach during repairs.
[explore_services]
How to repair roof shingles depending on the type you have
The process you’ll go through for roof shingles repair is largely the same, whether you have asphalt or metal shingles:
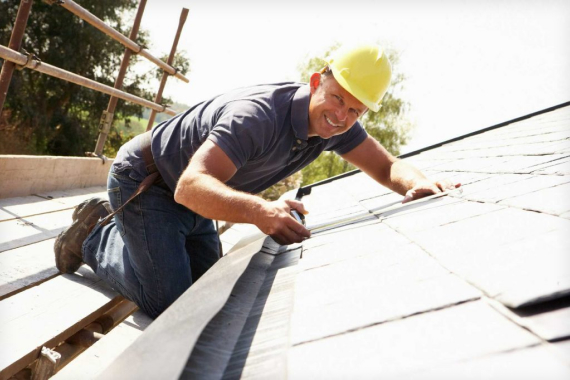
Asphalt shingle roofing repair
Asphalt shingle roof repair is as simple as:
-
1. Safety first: Prioritize safety by wearing appropriate gear (gloves, safety goggles, and non-slip footwear). Use a stable ladder and consider having a partner for assistance, especially if it’s your first time repairing a roof shingle.
-
2. Inspect and prepare: Assess the damaged area. Identify missing, curled, or damaged shingles, and gather the necessary tools: roofing nails, hammer, utility knife, roofing cement, and a caulking gun.
-
3. Remove the damaged shingles: Carefully lift the edges of the damaged shingles using a roofing spade. Remove any roofing nails securing the damaged shingles.
-
4. Replace missing shingles: Slide the new shingle in place, placing them just below the overlapping shingle above and secure with roofing nails. Cover the nail heads with roofing cement to create a watertight seal.
-
5. Fix curled shingles: For curled shingles, soften the edges with a heat gun. Once pliable, reattach them using roofing cement. Press down firmly to ensure proper adhesion.
-
6. Seal edges and gaps: Apply roofing cement along the edges of the repaired shingles and in any gaps. This seals the shingles and prevents water infiltration.
-
7. Inspect the entire roof: After the repair, conduct a thorough inspection of your entire roof. Look for any potential issues and address them properly.
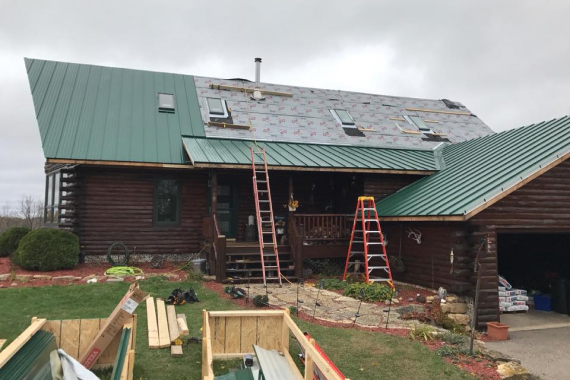
How to fix roof shingles made of metal
Metal roof shingles are renowned for their durability, but even they might need repairs over time. Here’s a step-by-step guide to help you repair metal roof shingles effectively:
-
1. Safety first: Apply the relevant safety gear from the list above. If the repair involves heights, consider using a safety harness.
-
2. Inspect and prepare: Once you’ve assessed the extent of the damage, gather all the tools you need to get the job done.
-
3. Identify damaged shingles: Inspect the metal shingles for signs of damage, such as dents, rust, or loose screws. Identify the specific shingles that need replacement.
-
4. Remove damaged shingles: Unscrew the fasteners securing the damaged shingles. Carefully lift the damaged shingles and remove them carefully to avoid damaging neighboring shingles.
-
5. Prepare the replacement: Ensure the replacement metal shingle matches the type and color of your existing roof. Align it correctly and drill holes for the fasteners if necessary.
-
6. Install the replacement: Slide the replacement shingle into place, making sure it fits snugly. Secure it tightly using appropriate screws, placing them in the pre-drilled holes.
-
7. Seal joints and screws: Apply a high-quality metal roof sealant around the joints and screws of the replaced shingle. This ensures a watertight seal, preventing leaks.
-
8. Inspect nearby shingles: While you’re working, inspect the adjacent shingles for any signs of damage. Address minor issues promptly to prevent future problems.
-
9. Regular maintenance: Perform regular inspections to catch potential problems early. Clean debris and check for rust or corrosion, especially after severe weather events.
Additional reading: how to clean roof shingles
[cta_learnmore]
Hiring professionals vs. repairing roof shingles yourself
When it comes to roof repairs, homeowners often face the dilemma of hiring professionals or attempting a do-it-yourself (DIY) approach.
While DIY projects can be rewarding and cost-effective for some home repairs, roofing is an area where professional expertise is paramount.
Hiring professionals offers several significant advantages over DIY attempts:

Expertise and experience:
Professional roofers bring years of experience and training to the job. They’re well-versed in various roofing materials, repair techniques, and safety protocols. Their expertise ensures that repairs are done accurately and efficiently, preventing costly mistakes that DIYers might make due to lack of experience.

Quality of work:
Professionals deliver high-quality workmanship, using the right tools and materials for the job. DIY repairs, on the other hand, may lack the precision and durability that professionals guarantee. Roofing professionals have access to top-quality materials and can perform repairs that stand the test of time.

Safety first:
Roof repairs often involve working at heights, making them inherently dangerous for inexperienced DIYers. Professionals are equipped with safety gear and follow strict safety guidelines, minimizing the risk of accidents. DIY attempts without proper safety measures can lead to severe injuries or accidents.

Time and convenience:
Roof repairs can be time-consuming, especially for those without experience. Hiring a professional ensures timely completion of the project, allowing you to focus on your daily life without the stress of ongoing repairs.

Long-term savings:
While DIY repairs might seem cost-effective initially, poorly executed repairs can lead to more extensive damage in the future, resulting in higher repair costs. Professionals get it right the first time, preventing recurring issues and saving homeowners from unnecessary expenses down the line.
Additional reading: roof shingle repair cost
Ready to Secure Your Roof and are in Wisconsin?
When it comes to ensuring the integrity of your roof, trust the expertise of Prairie Exteriors. As a Wisconsin shingle roofing company, our skilled professionals have years of experience, ensuring top-quality roof repairs and installations. We prioritize safety, precision, and durability, making us your reliable choice for all roofing needs.
[cta_mail text=’Don’t compromise on your home’s safety and longevity. Contact Prairie Exteriors today, and let our experts secure your roof for years to come.‘]
Final points on how to repair roof shingles
Roof damage opens the door to numerous issues, from persistent leaks to compromised structural strength. Swift repairs act as a sturdy shield against potential disasters.
However, repairing shingles batch by batch might not be the optimal solution. Signs of wear often indicate a broader problem, making a full roof replacement a practical choice.
While DIY repairs are tempting, roofing expertise is crucial. Professionals guarantee accuracy, durability, and safety, ensuring a lasting solution.
FAQs on roof shingles repair
Can shingles on a roof be repaired?
Yes, you can repair shingles on a roof. Acting promptly is crucial, preventing further issues and safeguarding your roof’s structural integrity. Timely repairs act as a protective shield, ensuring continuous defense against leaks and potential structural damage. Preserve your home’s safety and longevity with immediate and effective shingle repairs.
How long do roof shingles last?
Roof shingle lifespans vary based on the material. Asphalt shingles endure for 20-30 years, offering reliable protection during this period. In contrast, metal shingles boast exceptional longevity, often lasting 50 years or more. Opting for metal shingles ensures enduring durability, providing long-term safeguarding for your home against various environmental factors.
What causes roof shingles to deteriorate?
Roof shingles deteriorate due to an array of factors, primarily exposure to harsh weather elements. UV rays, moisture, and temperature fluctuations gradually weaken shingles, leading to issues like curling, cracking, or disintegration. Additionally, poor installation and aging contribute to deterioration.
Regular inspections and proactive maintenance play pivotal roles in mitigating these challenges.
How do you seal a leaking shingle roof?
To seal a leaking shingle roof, start by locating the leak source. Lift the affected shingles and apply roofing cement generously beneath them. Press down to secure the shingles and create a watertight seal. Cover exposed nail heads with cement. Regularly inspect and maintain the seal for lasting effectiveness.
Can you repair a section of roof shingles?
Certainly, you can repair a section of roof shingles. Begin by identifying damaged or missing shingles. Carefully remove the damaged ones, replacing them with new shingles of the same type. Use roofing nails and roofing cement to secure the new shingles, ensuring a tight and watertight fit.
How do you fix rotted wood under shingles?
To fix rotted wood under shingles, start by removing the damaged shingles and exposing the affected area. Cut out the rotted wood and replace it with a new piece of pressure-treated lumber. Secure the new wood with screws, ensuring it’s level and properly sealed. Then, reinstall the shingles securely.
[split_cta]